Enchilada Stuffed Shells

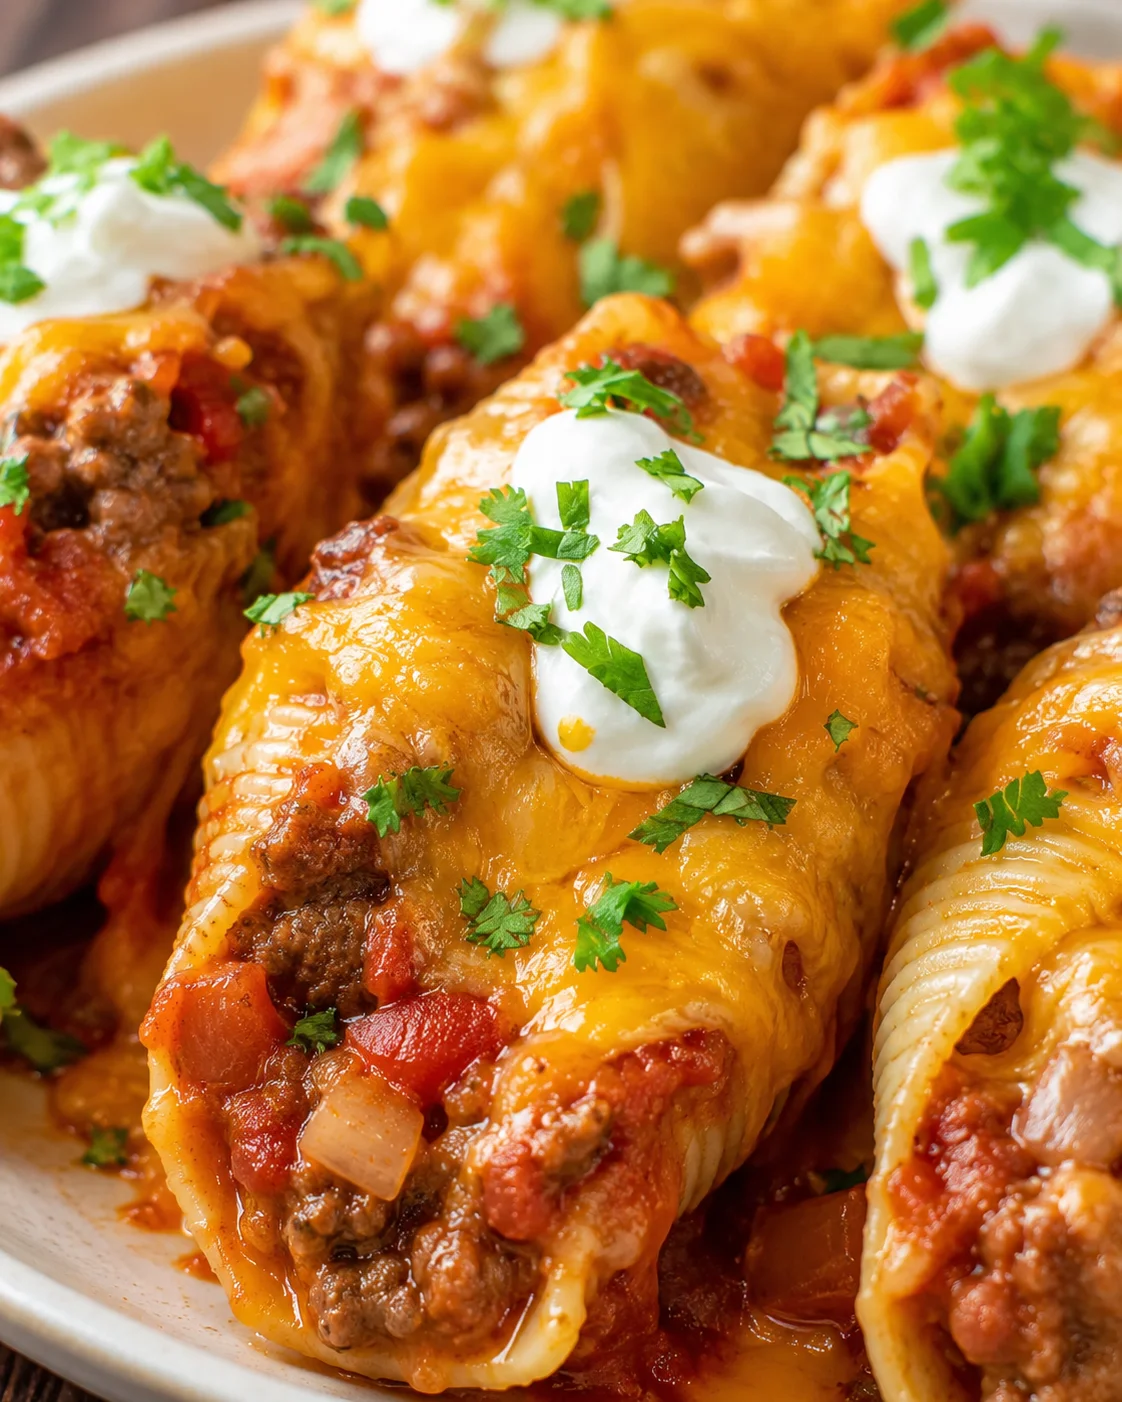
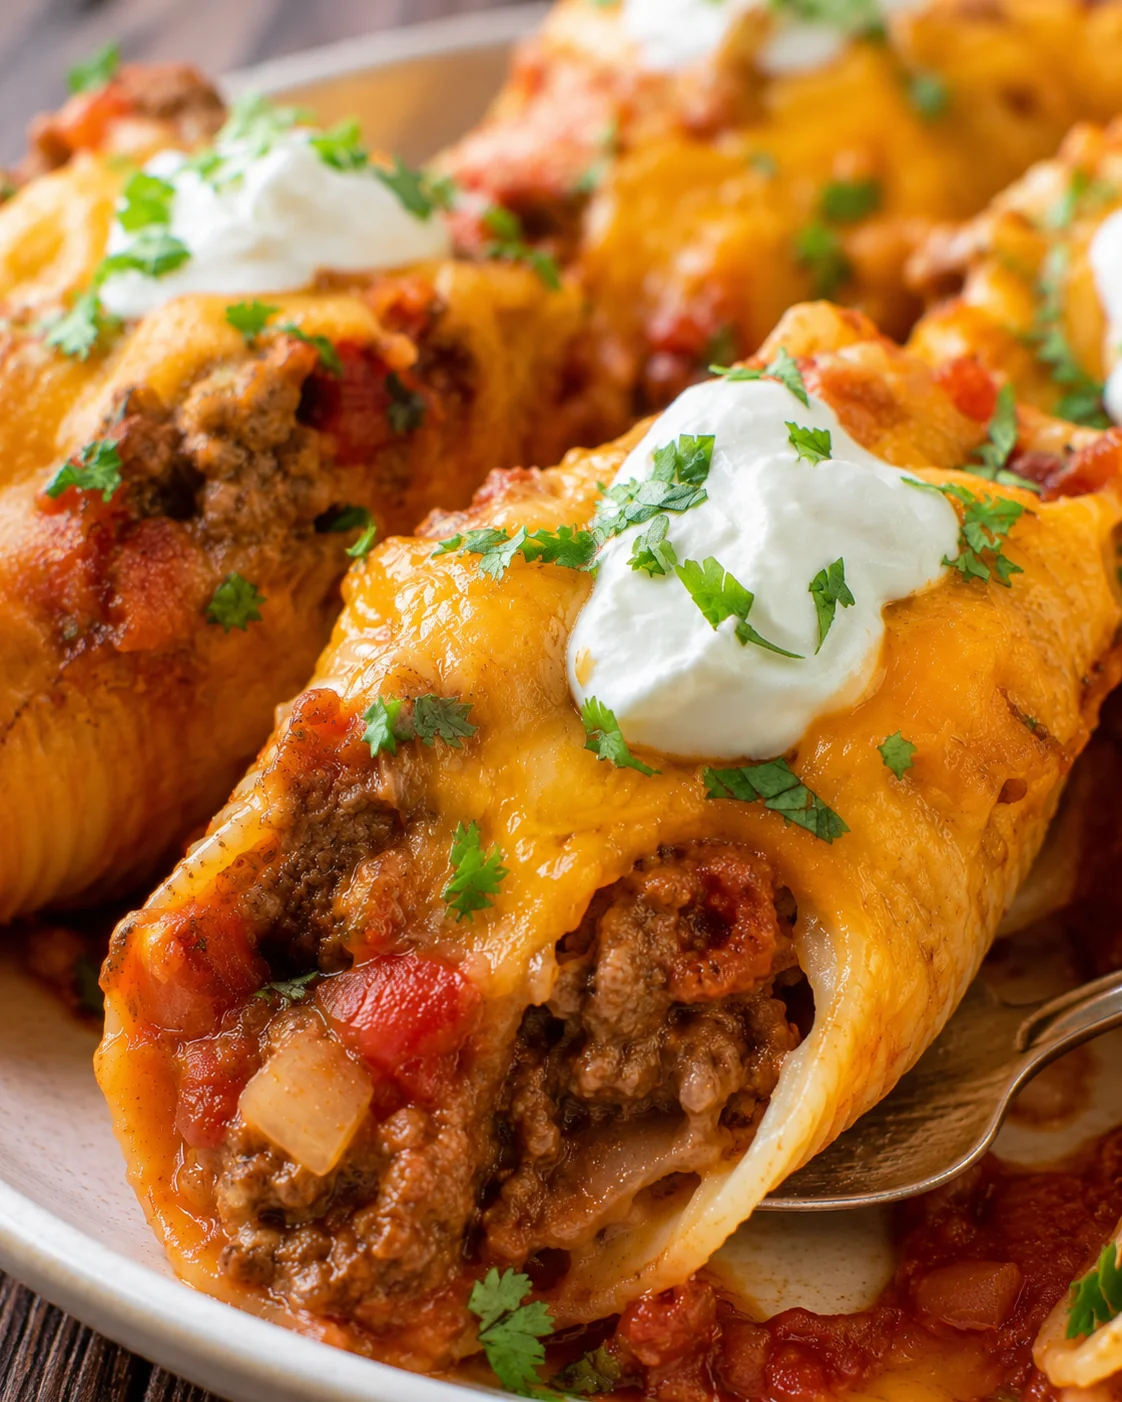
These enchilada stuffed shells are a breeze to make and perfect for kids! They’re packed with those yummy Mexican flavors that everyone in the family will love.
Pin this recipe so you can easily find it again
With those long days running the homeschool schedule, I keep a list of “easy dinners for when Mom’s running on empty.” Trust me, every family needs one! There’s no need to fall back on cereal for dinner if you have a few good go-to recipes like this one.
But here’s the thing: easy doesn’t have to mean boring or flavorless! These enchilada stuffed shells are a shining example of a simple meal that’s bursting with bold, delicious taste.
This recipe is straightforward and fuss-free, yet so tasty you’ll want to make it again and again. Imagine classic stuffed shells, but with a filling rich in all those familiar Mexican favorites your family adores. It’s a real crowd-pleaser!
And hey, isn’t there some commercial that says “kid-tested, Mom-approved”? Even if I’m just making that up, these enchilada stuffed shells fit the bill perfectly – amazing for family dinners or casual nights in. Dig in!
When you’re craving a hassle-free dinner that’s packed with flavor and loved by kids, these enchilada stuffed shells are exactly what you want. They’re comforting, simple to toss together, and loaded with all the Mexican-inspired goodness you know like enchilada sauce, refried beans, fresh tomatoes, and sharp cheddar cheese.
The cooking steps couldn’t be easier: boil jumbo pasta shells, brown up some ground beef and onions, mix in enchilada sauce, beans, tomatoes, and spices, stuff it all inside those shells, then bake everything with cheese until hot and bubbly. From start to finish, expect about 20 minutes to prep and 35 minutes baking time – about 55 minutes total—and you’ll have enough to feed around six hungry folks.
Keep reading for the full list of ingredients, a step-by-step guide, plus my top tips for cooking perfect shells, easy ingredient swaps (like chicken or vegetarian options), and ideas for making this recipe ahead or freezing extras. Ready to get started?
Big Flavor, Little Fuss
What I love most about these enchilada stuffed shells is how you get those hands-on stuffed pasta vibes you find in classics like beef stuffed shells paired with big Mexican flavors — think enchilada sauce, creamy refried beans, and classic spices like cumin and oregano. It’s a simple dinner that’s truly family-friendly, easy to prepare ahead, and flexible enough to swap in your favorite proteins or go vegetarian with sun-dried tomato and ricotta stuffed shells without losing any of that delicious taste. Plus, it reheats beautifully, so leftovers are a big win for busy days or meal prepping.
Ingredients and Easy Swaps
- 12 oz uncooked jumbo pasta shells
- 1 pound lean ground beef
- ½ cup onion, chopped
- 1 can enchilada sauce, 10 oz.
- ¼ teaspoon chili powder
- ¼ teaspoon dried basil
- ¼ teaspoon dried oregano
- ¼ teaspoon ground cumin
- 1 cup refried beans
- 1 roma tomato, chopped
- 1 ½ cups cheddar cheese, shredded, 6 oz.
Fill, Assemble, and Bake
- Preheat the oven to 350°F (175°C) and lightly spray a 13×9-inch baking dish with nonstick cooking spray.
- Cook the jumbo pasta shells in salted boiling water until just tender (al dente); drain thoroughly and cool until you can handle them.
-
Heat a nonstick skillet over medium-high and cook the ground beef and chopped onion, breaking up the meat, until no pink remains and the onions soften; drain excess fat.
- Stir the enchilada sauce, chili powder, ground cumin, dried oregano, dried basil, refried beans, and chopped Roma tomato into the beef; simmer 2–3 minutes and taste to adjust seasoning.
- Spoon the filling into each cooled shell and arrange seam-side up in the prepared baking dish; if desired, pour any remaining enchilada sauce over the shells.
- Cover the dish with foil and bake for 25–30 minutes.
- Remove the foil, sprinkle shredded cheddar cheese over the shells, and bake 5 more minutes until the cheese is melted and bubbly.
- Let the baked shells rest about 5 minutes before serving.
Cooking Tips and Shortcuts
- Cook shells until they’re al dente—just a little firm. This keeps them from falling apart when filled.
- Drain shells thoroughly and let them cool slightly before stuffing. Use tongs or a small spoon to fill them gently without tearing.
- Don’t overstuff the shells. Leave a bit of room so they fit nicely in the pan and the filling doesn’t spill out while baking.
- Drain excess fat from cooked beef to avoid greasy filling. If the mixture seems dry, add a tablespoon or two of enchilada sauce to moisten it.
- Try using a piping bag or a resealable plastic bag with a corner snipped for neat, quick filling. You can see this method in action in our Shrimp & Crab Stuffed Pasta Shells.
- To prevent watery casserole, drain fresh tomatoes well or use canned diced tomatoes that are well drained.
- Let leftovers rest a few minutes after reheating for thicker sauce and firmer slices.
Flavor Swaps and Add-Ins
- Chicken Enchilada Shells: Swap the beef for cooked shredded rotisserie chicken mixed with enchilada sauce and spices for a lighter twist.
- Vegetarian Version: Replace the meat with a combo of black beans and corn or mashed pinto beans instead of refried beans. Adds great texture and protein.
- Cheese options: Switch up cheddar for Monterey Jack, Pepper Jack (if you like heat), or a Mexican cheese blend to change the flavor profile.
- Sauce swap: Use red or green enchilada sauce depending on your family’s taste preferences – green sauce adds a fresh, tangy kick.
- Spice it up: Add diced jalapeño or a pinch of cayenne pepper for some heat.
- Extra veggies: Stir in chopped bell peppers, zucchini, or spinach to boost nutrition and stretch the filling.
Storage and Make-Ahead Tips
- Refrigerator: Store cooled leftovers in an airtight container for up to 3–4 days. Reheat single portions in the microwave (covered) for 1–3 minutes. Or heat the whole dish, covered with foil, in a 350°F oven for about 15–20 minutes until warmed through.
- Freezing: Cool cooked shells completely before wrapping tightly in plastic wrap and foil, or transfer to freezer containers. Freeze for 2–3 months. Thaw overnight in the fridge before reheating. If baking from frozen, add 20–30 minutes to the covered bake time, removing foil for the final few minutes to melt cheese.
- Make-ahead: Assemble the dish but don’t bake. Cover tightly and refrigerate up to 24 hours before baking as usual (add a bit of bake time if chilled). For longer storage, freeze assembled shells before baking and bake from frozen using the directions above.
- Food safety: Don’t leave cooked food out more than 2 hours before refrigerating or freezing.
Common Questions Answered
➡️ My shells keep breaking when I stuff them – how do I fix this?
Make sure to only cook the shells until they’re just al dente, so they’re firm enough to hold the filling without falling apart. The rest of the cooking happens in the oven.
➡️ Can I use taco seasoning instead of the spices here?
Absolutely! Just be mindful that taco seasoning can be saltier, so adjust carefully and taste as you go.
➡️ How many servings does this recipe make?
You’ll get about 6 servings from this batch, perfect for a family dinner.
➡️ How long does it take to make enchilada stuffed shells?
Plan for about 20 minutes prepping and 35–40 minutes baking – so roughly an hour total from start to finish.
➡️ Can I swap the ground beef for chicken?
Yes! Ground or shredded chicken works great and tastes just as delicious.
➡️ Can this recipe be made vegetarian or vegan?
Definitely! You can replace the beef with a bean and corn mix or mashed beans. Let me know in the comments how your plant-based version turns out—I love hearing your swaps!
➡️ Should I use green or red enchilada sauce?
Either works! Pick whichever flavor your family prefers or mix them up for variety.
Want to save this recipe?
I’ll email it right to you so you can come back anytime you want!
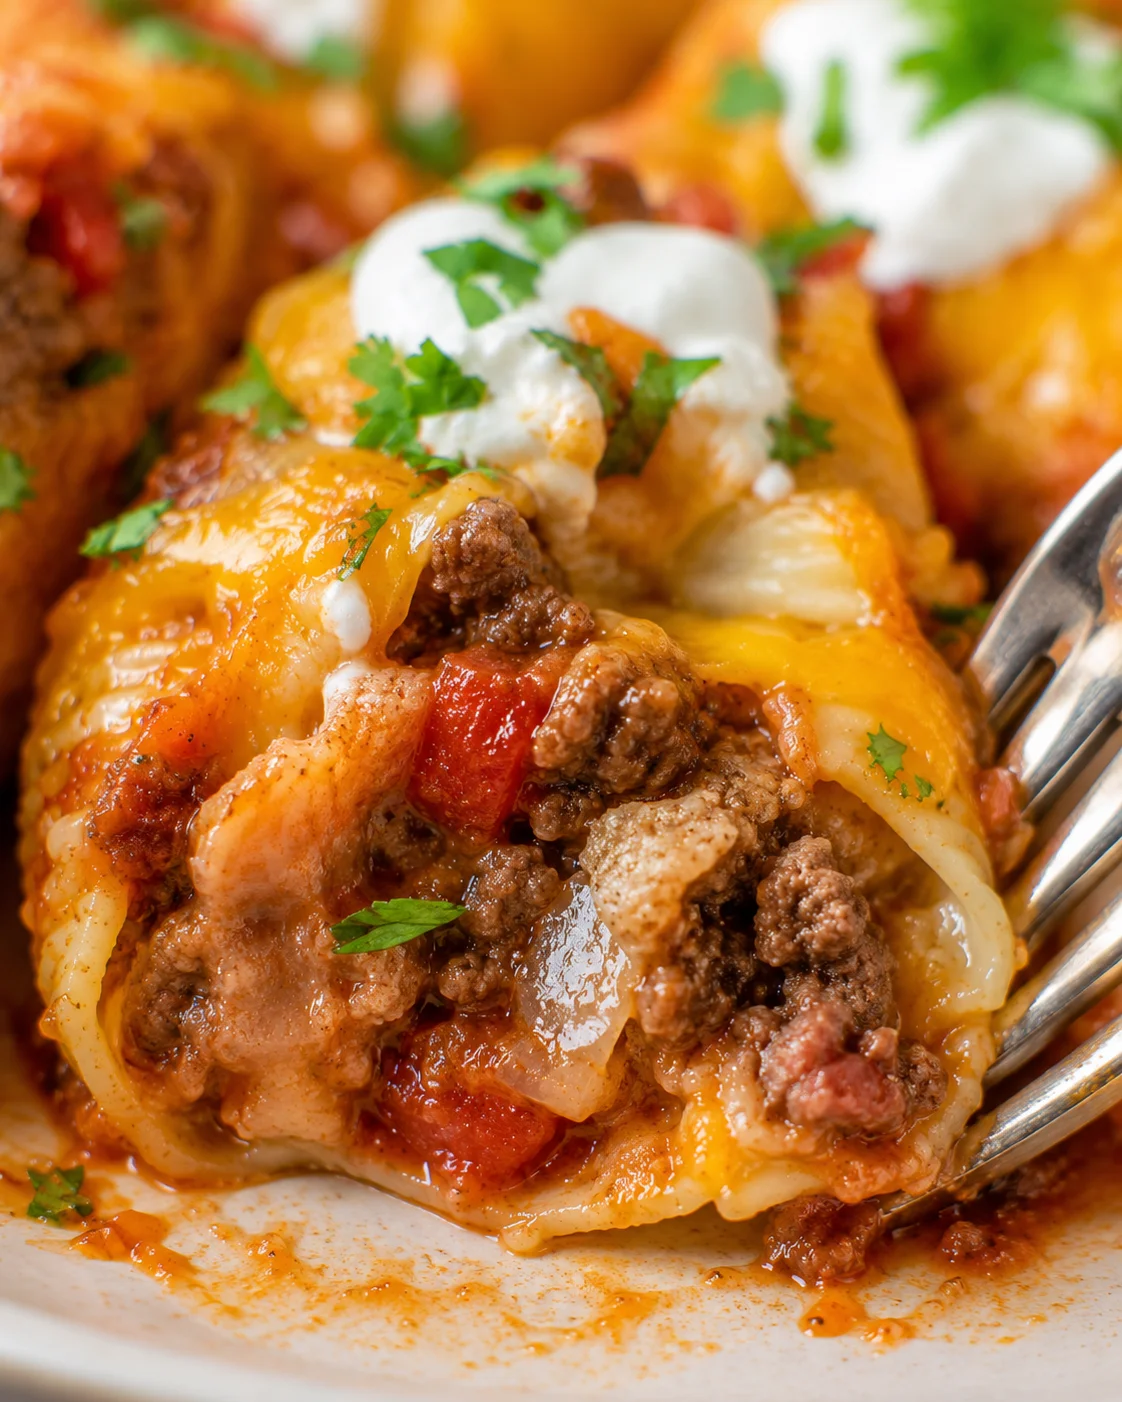
A family-friendly recipe featuring jumbo pasta shells stuffed with a flavorful Mexican-inspired beef and bean filling, topped with cheddar cheese and baked until bubbly. Easy to prepare and perfect for busy weeknights.
- Prep Time: 20 minutes
- Cook Time: 35 minutes
- Total Time: 55 minutes
- Yield: 6 servings 1x
- Category: Main Course
- Cuisine: Mexican-inspired
Ingredients
- 12 oz uncooked jumbo pasta shells
- 1 pound lean ground beef
- ½ cup onion, chopped
- 1 can enchilada sauce, 10 oz.
- ¼ teaspoon chili powder
- ¼ teaspoon dried basil
- ¼ teaspoon dried oregano
- ¼ teaspoon ground cumin
- 1 cup refried beans
- 1 roma tomato, chopped
- 1 ½ cups cheddar cheese, shredded (6 oz)
Instructions
- Preheat the oven to 350°F (175°C) and lightly spray a 13×9-inch baking dish with nonstick cooking spray.
- Cook the jumbo pasta shells in salted boiling water until just tender (al dente); drain thoroughly and cool until you can handle them.
- Heat a nonstick skillet over medium-high and cook the ground beef and chopped onion, breaking up the meat, until no pink remains and the onions soften; drain excess fat.
- Stir the enchilada sauce, chili powder, ground cumin, dried oregano, dried basil, refried beans, and chopped Roma tomato into the beef; simmer 2–3 minutes and taste to adjust seasoning.
- Spoon the filling into each cooled shell and arrange seam-side up in the prepared baking dish; if desired, pour any remaining enchilada sauce over the shells.
- Cover the dish with foil and bake for 25–30 minutes.
- Remove the foil, sprinkle shredded cheddar cheese over the shells, and bake 5 more minutes until the cheese is melted and bubbly.
- Let the baked shells rest about 5 minutes before serving.
Notes
Cook shells until al dente to prevent breaking when stuffing., Drain shells thoroughly and cool slightly before stuffing to avoid tearing., Avoid overstuffing shells to prevent filling spillage during baking., Drain excess fat from cooked beef to avoid greasy filling; add a bit of enchilada sauce if the mixture is dry., Use a piping bag or resealable plastic bag corner for neat filling., Drain fresh tomatoes well or use well-drained canned diced tomatoes to prevent watery casserole., Leftovers reheat well; allow resting after reheating for thicker sauce and firmer slices., For chicken version, swap beef with shredded rotisserie chicken mixed with enchilada sauce and spices., Vegetarian options include replacing meat with black beans and corn or mashed pinto beans., Cheese variations include Monterey Jack, Pepper Jack, or Mexican cheese blend., Sauce can be red or green enchilada sauce to taste., Add jalapeño or cayenne pepper for heat, or extra veggies like bell peppers, zucchini, or spinach to boost nutrition., Store leftovers in airtight container in fridge for 3–4 days or freeze for 2–3 months., Assemble ahead and refrigerate or freeze before baking; adjust baking times accordingly.
Nutrition
- Serving Size: 1 serving
- Calories: Estimated 400-500 calories per serving
- Fat: Approx. 15 g per serving
- Carbohydrates: Approx. 40 g per serving
- Protein: Approx. 25 g per serving