Tuna Salad with Crunchy Celery, Relish, and Lemon

This tuna salad brings together creamy and crunchy textures with tangy, zesty, and savory flavors in every bite. Albacore tuna, crisp celery, minced onion, relish, mustard, lemon juice, parsley, and simple seasonings make a cool, refreshing filling that is easy to shape around the meal you want.
You can make it with mayonnaise or use Greek yogurt instead. Spoon it into a sandwich, fold it into butter lettuce, wrap it in a flour tortilla, pile it over toast, or serve it with crackers. The finished mixture also makes a generous base for tuna melts.
The method is straightforward, but two small details make a noticeable difference: drain the tuna completely and break it apart thoroughly before mixing. Then, if possible, give the salad at least 30 minutes to chill so the flavors can meld. You can serve it immediately when you need to, but the short rest is worth planning for.
- Prep time
- 15 minutes
- Total time
- 15 minutes
- Servings
- 4 servings
- Yield
- About 2 ½ cups of tuna salad
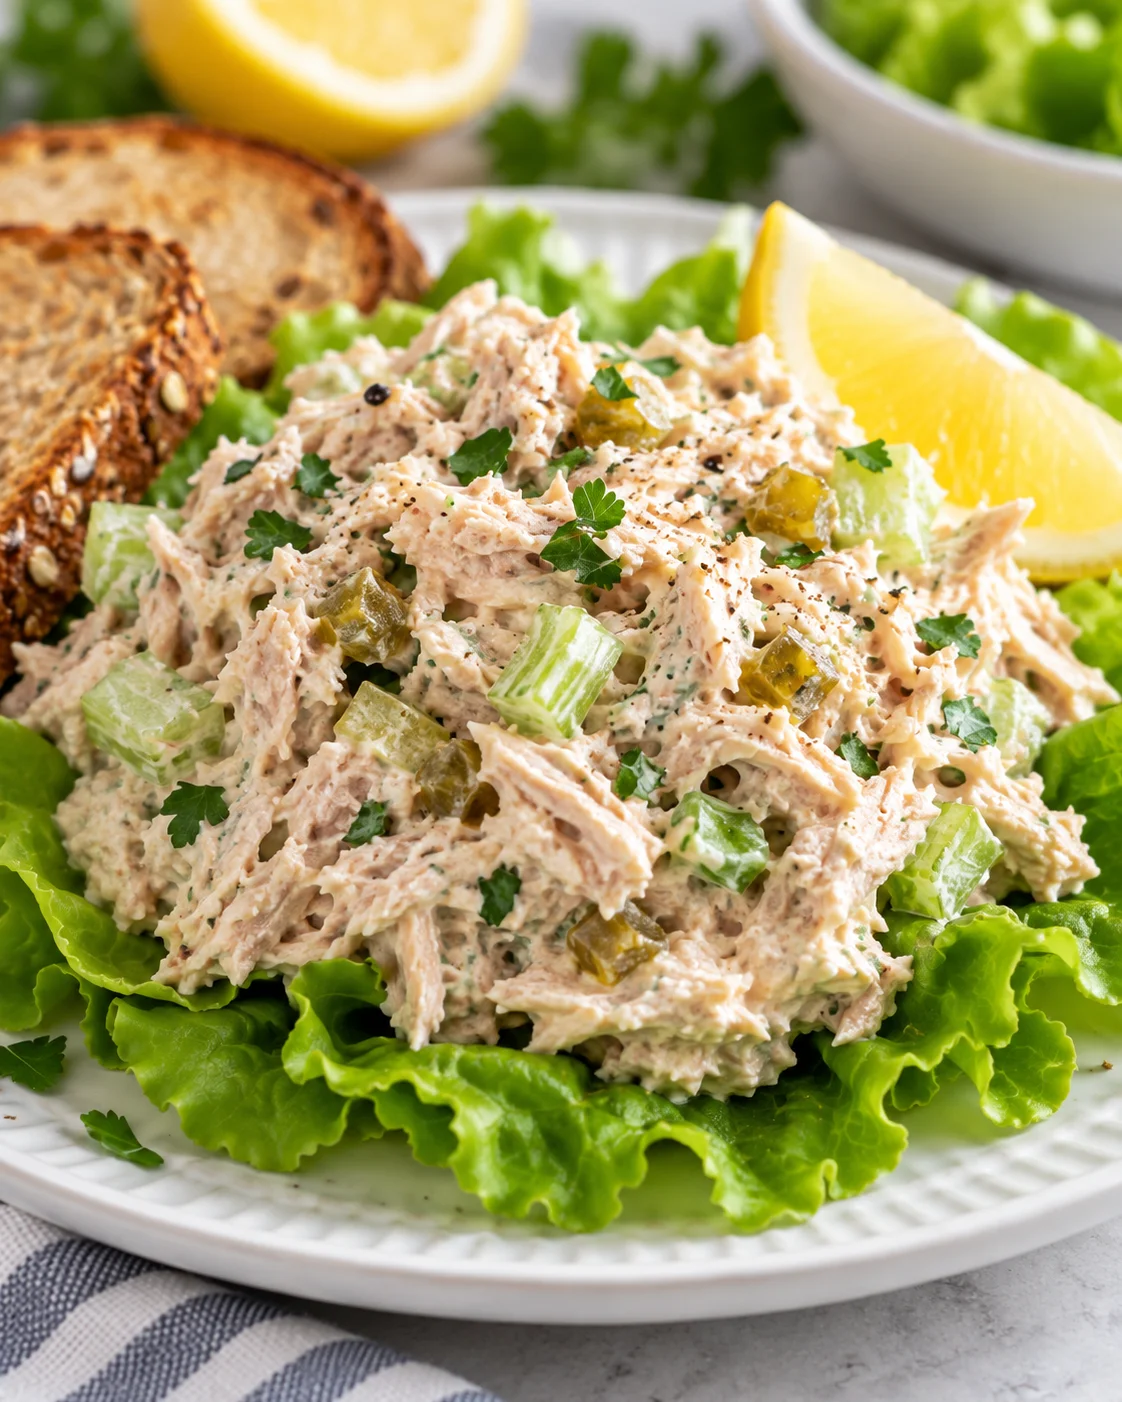
Why You Will Love This Tuna Salad
A good tuna salad needs contrast, and this one has it. The tuna and mayonnaise or Greek yogurt create a creamy base, while finely diced celery and minced onion add a fresh, crunchy bite. Dill or sweet relish brings a little bright tang, lemon juice adds zest, and yellow mustard gives the mixture a savory edge. Parsley and the measured blend of seasonings round it out without making the recipe complicated.
It is also flexible from the start. The recipe gives you a choice between mayonnaise and Greek yogurt, and it works with tuna packed in water or the other tuna you have available, although water-packed tuna is recommended because mayonnaise already contains oil. The optional pinch of cayenne lets you add a little heat without changing the character of the salad.
This is a useful make-ahead filling because it needs no cooking once the ingredients are ready. Fifteen minutes is the listed prep time and total time, and the recipe makes about 2 ½ cups. That is four servings, with just over 1/2 cup per person, or enough for 3 generously filled tuna sandwiches. Make it for a quick lunch, portion it into several serving formats, or keep it ready to turn into a tuna melt with cheddar cheese.
The texture depends on preparation as much as ingredients. Thoroughly shredded tuna gives the dressing and seasonings plenty of surface area to coat, so the relish, lemon, mustard, and spices do not stay in one concentrated spot. The result is a balanced mixture that is easy to scoop, spread, or wrap.
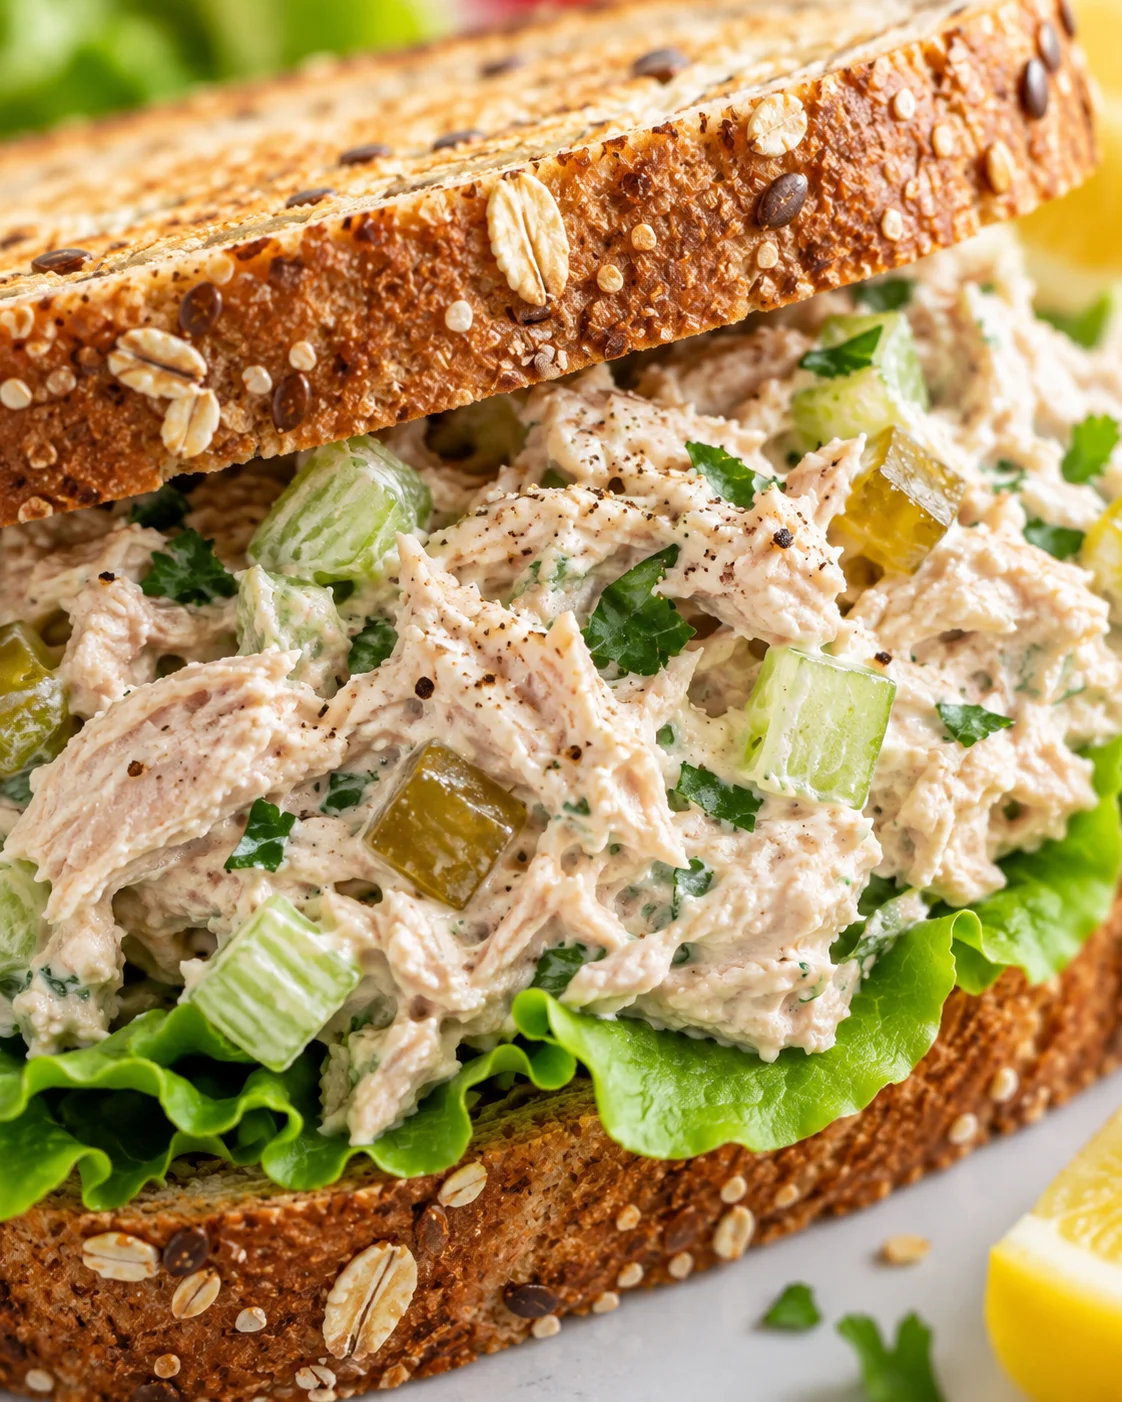
Ingredients
Gather the ingredients before you start, especially the finely diced vegetables and chopped parsley. Small pieces help the celery and onion distribute evenly through the tuna rather than making any one bite too bulky.
For the tuna salad
- 2 (5-oz.) cans albacore tuna, drained well
- 1 stalk celery, finely diced
- 2 tablespoons white onions, minced (yellow onion can be substituted)
- 1/3 cup mayo (Greek yogurt can be substituted)
- 1 tablespoon dill or sweet relish (dill is the preferred choice noted with the recipe)
- 2 teaspoons lemon juice
- 1 tablespoon freshly chopped parsley
- 1 teaspoon yellow mustard
- ¼ teaspoon each of salt, garlic powder, dry dill weed, and freshly cracked pepper
- 1 pinch cayenne, optional
For serving
- Butter lettuce
- Bread
- Flour tortillas
- Crackers
Ingredient notes: Drain the albacore tuna very well before measuring or mixing. Excess moisture can make the finished salad watery. Tuna packed in water is recommended instead of tuna packed in oil because the mayonnaise already contains oil. If you prefer a version without mayonnaise, use Greek yogurt in its place. Dill relish is the stated preference, but sweet relish is included as an option.
The seasoning is intentionally simple: salt, garlic powder, dry dill weed, and freshly cracked pepper are each measured at ¼ teaspoon, with cayenne added only if you want that extra pinch of warmth. Fresh lemon juice works especially well here, and a lemon squeezer makes it easy to add the 2 teaspoons called for in the ingredient list.
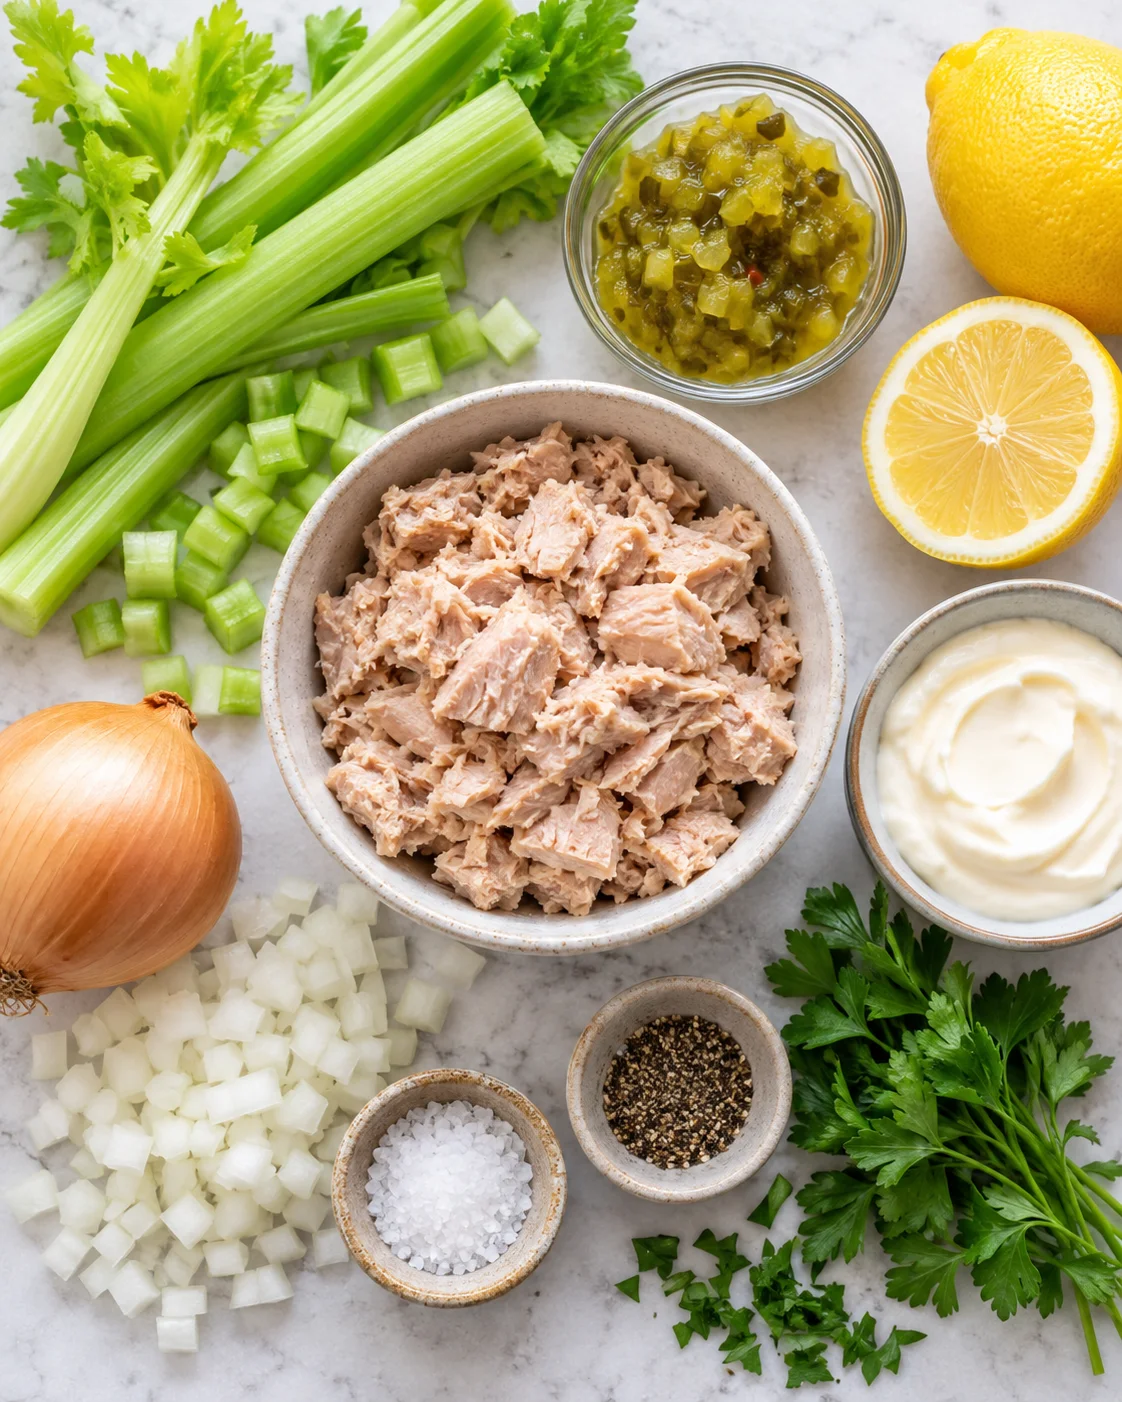
Instructions
Set out a medium bowl and have your serving ingredients nearby. The order matters most at the beginning: remove as much liquid as possible from the tuna, then separate the fish before adding the creamy and flavorful ingredients.
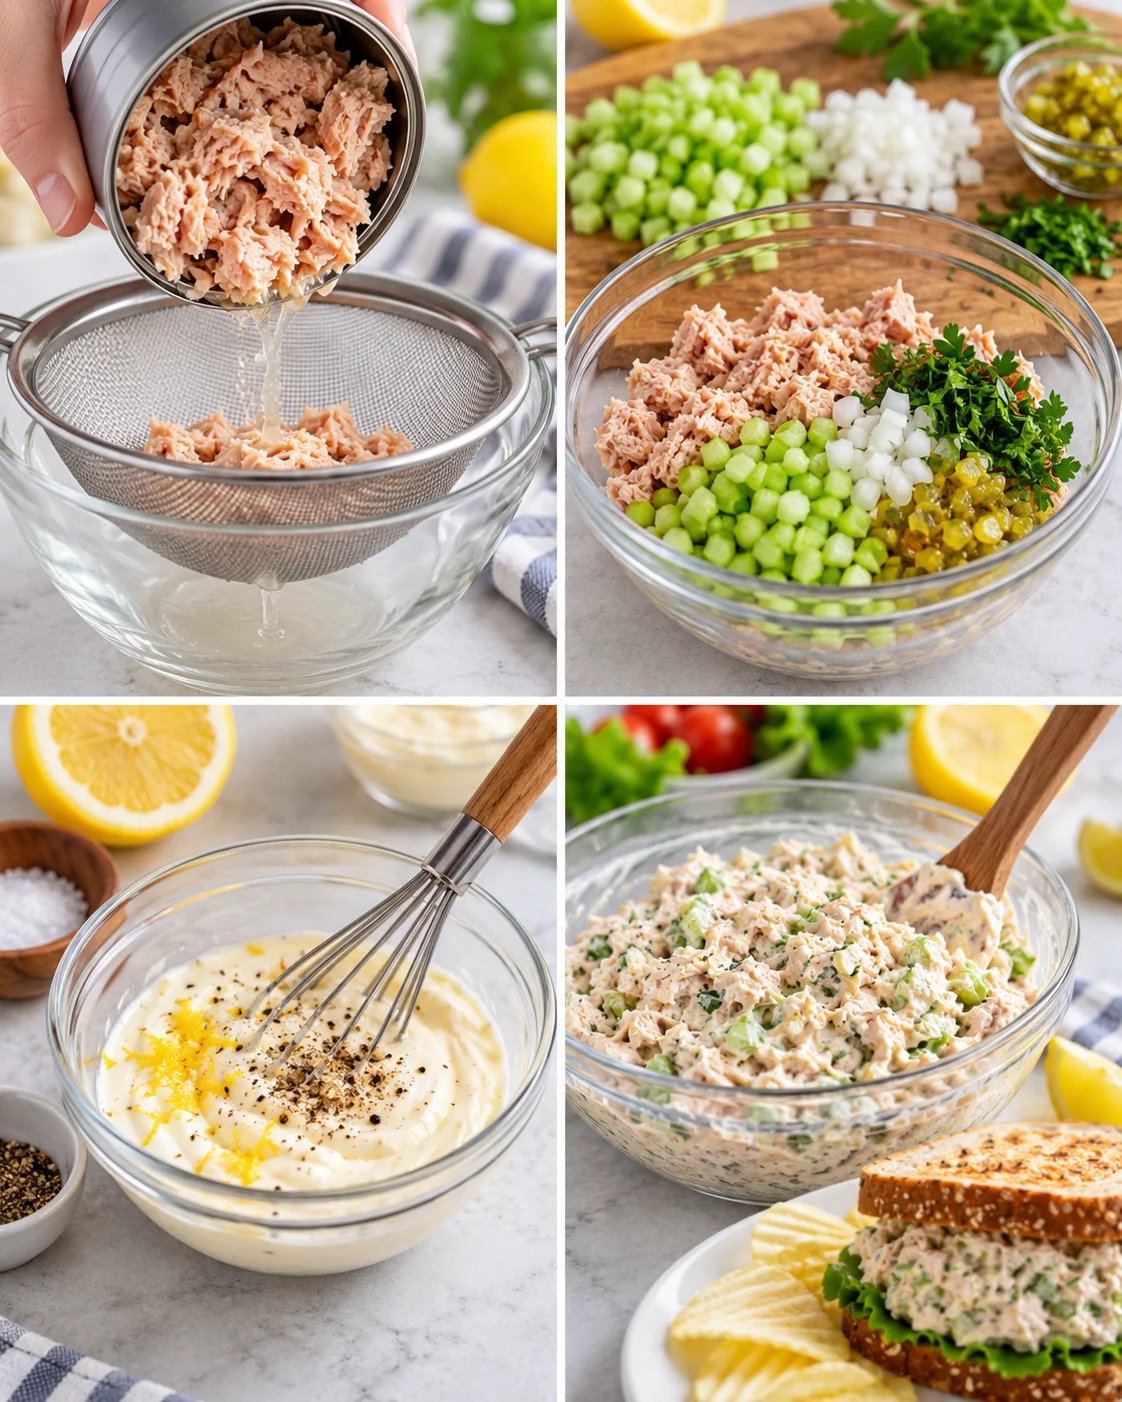
- Drain the tuna completely. Use the lid of the tuna can to press out the liquid, or use a tuna can strainer. Take the time to drain both 5-ounce cans thoroughly. This step is important because excess moisture can leave you with watery tuna salad instead of a thick, scoopable filling.
- Shred or break the tuna apart thoroughly. Separate the albacore into small, loose pieces so there is plenty of surface area. This allows the mayonnaise or Greek yogurt, relish, lemon juice, mustard, parsley, and seasonings to spread through the tuna and be absorbed evenly.
- Combine the tuna salad ingredients. Add the finely diced celery, minced white onion, 1/3 cup mayo or Greek yogurt, dill or sweet relish, lemon juice, chopped parsley, yellow mustard, salt, garlic powder, dry dill weed, freshly cracked pepper, and optional cayenne to the tuna in a medium bowl. Stir with a silicone spatula until everything is well combined and the vegetables and seasonings are distributed throughout.
- Chill before serving if possible. Refrigerate the mixed tuna salad for at least 30 minutes so the flavors can meld. If you do not have time to wait, it may be served immediately. Spoon it into butter lettuce, spread it on bread, roll it in a flour tortilla, place it over toast, or serve it with crackers.
Once mixed, look for a cohesive salad in which the tuna is broken into small pieces and the celery, onion, relish, and herbs are visible throughout. The mixture should be easy to scoop without pooling liquid in the bowl. If you notice moisture collecting, drain the tuna more thoroughly next time before breaking it apart; the initial draining step is the key to the right texture.
Tips for Success
- Drain the tuna very well. This is the most important texture tip. A tuna can strainer makes it easier to remove excess moisture, though the lid of the can can also be used to press the liquid out completely.
- Break up the fish before dressing it. Large chunks do not give the other ingredients as much surface area to coat. Thoroughly shredded tuna helps the creamy base and seasonings reach every part of the mixture.
- Choose tuna packed in water when possible. The recipe recommends it over tuna packed in oil because mayonnaise already contains oil. This keeps the combination from becoming needlessly oily.
- Dice the celery finely and mince the onion. The recipe specifically calls for a finely diced celery stalk and minced onion. Small pieces preserve the crunchy quality of the celery while making the vegetables easier to distribute in each serving.
- Use the creamy base you prefer. Mayonnaise is the listed option, and Greek yogurt can be used instead. The recipe is described as working with or without mayo, so the substitution is part of the recipe’s flexibility rather than an afterthought.
- Give it a 30-minute chill when you can. The salad can be eaten right away, but chilling it for at least 30 minutes allows the relish, lemon, mustard, parsley, and dry seasonings to meld with the tuna and creamy base.
- Use a gentle hand while combining. A silicone spatula is useful for stirring and combining without leaving ingredients stuck around the sides of the bowl. Fold and stir until the mixture is cohesive rather than continuing after everything is already evenly distributed.
- Keep the optional heat optional. The cayenne is listed as 1 pinch and optional. Leave it out for a milder bowl, or add that small amount when you want a little warmth alongside the zesty lemon and mustard.
- Fresh lemon juice is a good finishing detail. The recipe calls for 2 teaspoons, and a lemon squeezer helps you add that amount cleanly. The citrus keeps the creamy salad tasting bright.
- Plan for the yield. About 2 ½ cups makes 4 servings of just over 1/2 cup each, or 3 generously filled tuna sandwiches. This helps you choose serving vessels before you start assembling.
Variations and Substitutions
The base recipe is easy to adjust without losing its crunchy, tangy character. Keep the listed tuna, celery, onion, creamy component, relish, lemon juice, parsley, mustard, and seasonings as your starting point, then choose one of the supported options below.
Change the creamy component
Use Greek yogurt instead of mayonnaise if you prefer. This is the recipe’s direct no-mayo option. The rest of the ingredient list and the mixing method stay the same, including the lemon juice, mustard, relish, herbs, and seasonings.
Try another relish or add-ins
Dill relish is the preferred choice, but sweet relish can be used. The listed additional options include hard boiled eggs, avocado, a hint of honey, finely diced cucumbers, diced apples, toasted walnuts, almonds, capers, cranberries, grated carrots, diced bell peppers, and jalapenos. These additions offer different directions for crunch, sweetness, richness, or heat, but they are optional additions rather than required ingredients. Add them according to the texture and flavor you want in your bowl.
Use a different canned protein
The recipe can also be made with canned crab meat, half crab and half tuna, or canned chicken. These are listed as alternate protein directions. If you choose one, keep the same method in view: drain the canned ingredient thoroughly, break it apart well, then combine it with the other tuna salad ingredients in a medium bowl.
Finish a sandwich with cheddar
For a richer sandwich format, top tuna sandwiches with cheddar cheese. The cheese is specifically called out as a delicious addition and works naturally with the creamy tuna filling and the bread serving option.
Storage
Transfer the prepared tuna salad to an airtight container and refrigerate for up to 3–5 days. The airtight container keeps the salad fresh while it is stored. Since the recipe can be served immediately or chilled for at least 30 minutes before serving, you can prepare it and let that short chill double as part of your make-ahead routine.
For the best texture when you are ready to serve it, use a silicone spatula or spoon to stir the chilled mixture gently, then portion it into lettuce wraps, bread, a flour tortilla, over toast, or alongside crackers. Keep the salad in an airtight container and refrigerate it for up to 3–5 days.
Serving Suggestions
There are several ways to serve this tuna salad, so the same bowl can suit a light wrap, a portable lunch, or a snack plate. Use the listed serving options as your guide:
- Butter lettuce: Spoon the salad into lettuce leaves for a crisp lettuce wrap.
- Bread: Spread it into a classic tuna sandwich. The yield is enough for 3 generously filled tuna sandwiches, and cheddar cheese can be added on top.
- Flour tortillas: Roll the mixture into a tortilla wrap for a soft, easy-to-hold format.
- Toast: Serve the tuna salad over toast for an open-faced option.
- Crackers: Scoop it with crackers when you want a simple serving without assembling a sandwich.
- Tuna melts: Use the finished salad as the filling for a classic tuna melt, with cheddar cheese on the sandwich if desired.
Because each serving is just over 1/2 cup, portion the salad before choosing the format. A lettuce wrap or crackers can hold a smaller scoop, while bread or flour tortillas can take a more generous filling. The recipe’s 4-serving yield also gives you room to offer more than one presentation at the table.
Tools for This Recipe
- Tuna can strainer: Getting excess moisture out is especially important, and this tool makes draining the cans easier.
- Airtight storage containers: Use one to refrigerate the prepared tuna salad and keep it fresh for the stated storage period.
- Silicone spatulas: Use a silicone spatula for stirring and combining the tuna salad ingredients in the medium bowl.
- Lemon squeezer: Freshly squeezed lemon juice is best in this recipe, and a squeezer helps you add the 2 teaspoons cleanly.
Frequently Asked Questions
Can I make this tuna salad without mayonnaise?
Yes. The recipe can be made with or without mayo, and Greek yogurt can be used instead of the 1/3 cup mayonnaise.
Why does the tuna need to be drained so well?
Thorough draining helps prevent watery tuna salad. Use the can lid or a tuna can strainer, then break the tuna apart so the remaining ingredients can coat it evenly.
Can I serve it immediately?
Yes. Chilling for at least 30 minutes is recommended if possible so the flavors can meld, but the tuna salad may be served immediately if you do not have time to wait.
How much tuna salad does this recipe make?
It yields about 2 ½ cups and makes 4 servings. Each serving is just over 1/2 cup per person, and the amount is also enough for 3 generously filled tuna sandwiches.
Can I use something besides tuna?
The listed alternatives are canned crab meat, half crab and half tuna, or canned chicken. Whichever option you use, follow the same draining and breaking-apart steps before mixing.
What can I add to the basic mixture?
Supported additions include hard boiled eggs, avocado, a hint of honey, finely diced cucumbers, diced apples, toasted walnuts, almonds, capers, cranberries, grated carrots, diced bell peppers, and jalapenos.
How should I store tuna salad?
Store it in an airtight container and refrigerate for up to 3–5 days.
Nutrition
Nutritional information is an estimate per serving for this recipe’s 4 servings. The listed estimate is 200 calories, 2g carbohydrates, 14g protein, 15g fat, 2g saturated fat, 9g polyunsaturated fat, 3g monounsaturated fat, 0.04g trans fat, 33mg cholesterol, 483mg sodium, 177mg potassium, 0.4g fiber, 1g sugar, 200IU vitamin A, 4mg vitamin C, 22mg calcium, and 1mg iron.
This recipe is categorized as a Main Course and Salad, with American cuisine.