Irresistible Bacon Jam

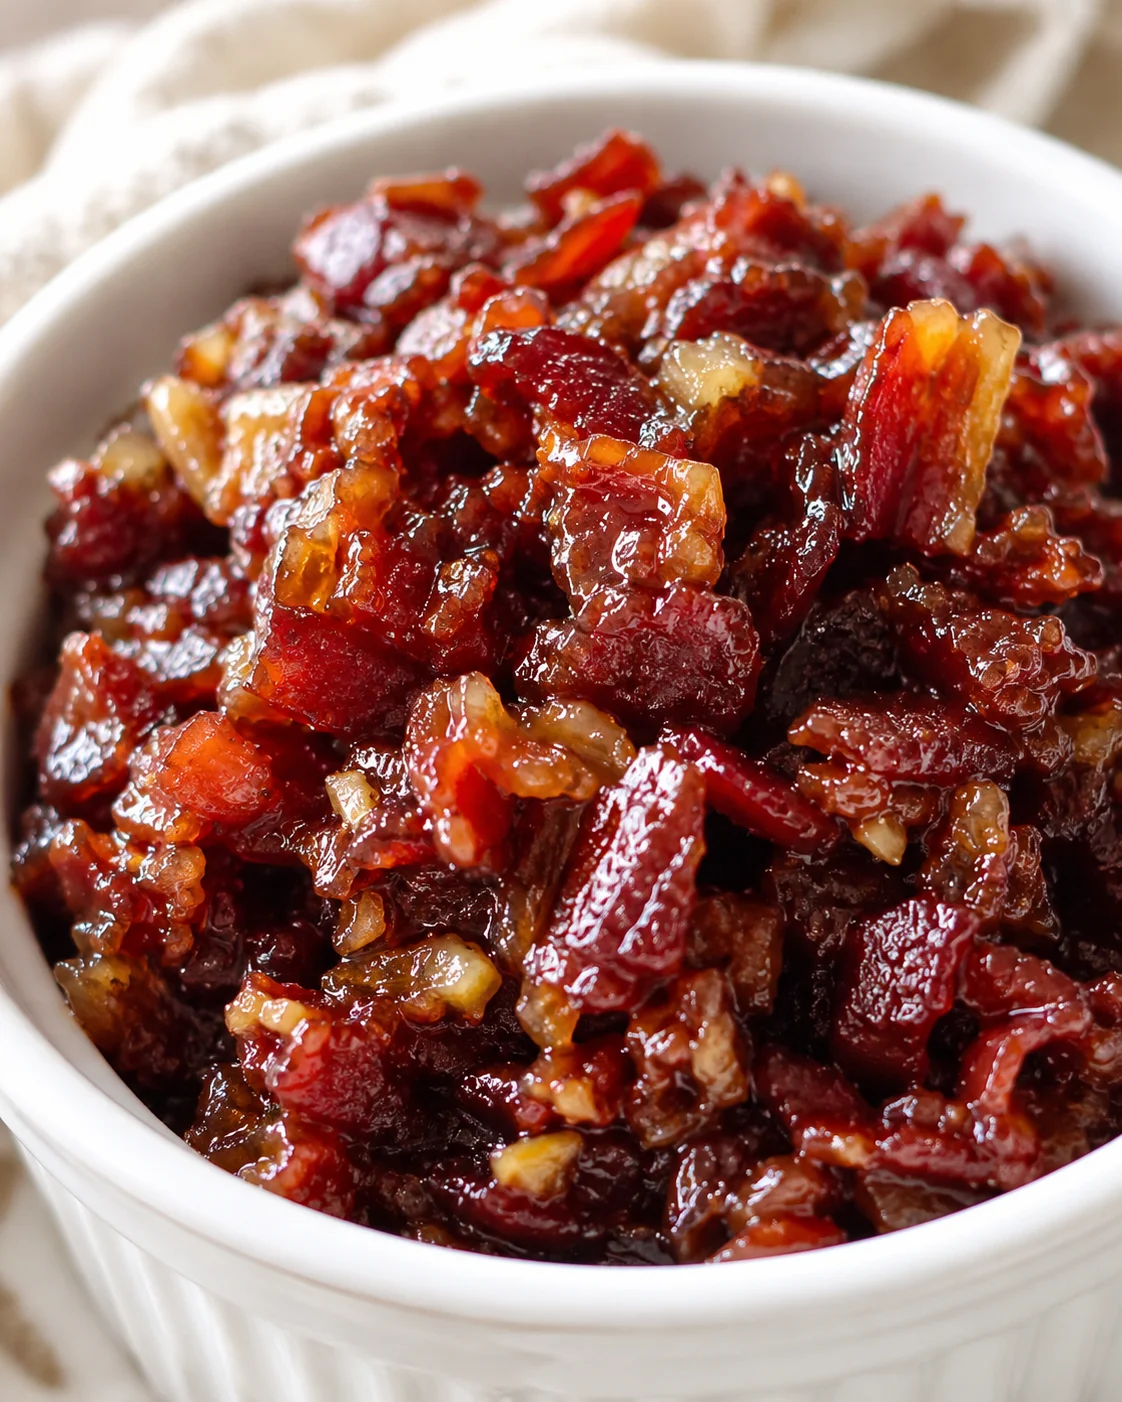
Bacon Jam
Get ready to treat your taste buds with this irresistible bacon jam recipe! It’s the perfect blend of sweet and salty, smoky and savory—ideal for everything from breakfasts and burgers to cheese boards. This easy stovetop spread is a total game-changer and will be loved by every bacon fan in your crew!
Originally, I whipped up this bacon jam to jazz up burgers. Now, I’m slathering it on just about everything!
It hits that magical sweet-salty spot with a consistency that feels like a cross between chopped candied bacon and a rich jelly. You might think of it more as a “spread,” but whatever you call it, it’s pure deliciousness!
Make a batch for your next cookout to pile onto burgers. Or bring it along to your next party as a superstar on your charcuterie board. Keep it chilled in the fridge for toast toppings at breakfast or mix it into a killer breakfast sandwich.
And honestly, just eating it straight off crackers makes for the best snack ever! The ways to enjoy this bacon jam are endless, and I’ll share plenty of ideas further down.
This bacon jam recipe combines sweet, salty, and smoky flavors with that perfect jammy texture you’ll crave, whether you’re topping burgers or breakfast toast. It’s a quick stovetop spread made by blending crispy, diced bacon with caramelized onions, brown sugar, maple syrup, and apple cider vinegar. What you’ll get is a wonderfully balanced condiment with hearty bites of bacon in every spoonful.
Here’s what you’ll find in this post and the recipe below:
- A simple, hands-on stovetop recipe that takes about 10 minutes to prep and roughly 45 minutes to cook (around 55 minutes total), yielding approximately 16 ounces of bacon jam.
- Step-by-step photos and clear instructions, so you can easily follow along and get great results.
- Helpful tips to get the perfect texture (think: thick-cut bacon and slow caramelization of onions) plus fun variations like spicy jalapeño or bourbon swaps.
- Advice on storing and reheating (keep refrigerated up to a week or freeze for longer) as well as answers to common questions you might have.
Scroll down to the recipe card for detailed measurements and the full method. Or keep reading for tips, serving ideas, and ways to customize your bacon jam recipe into your new must-have spread.
Flavor and Texture Highlights
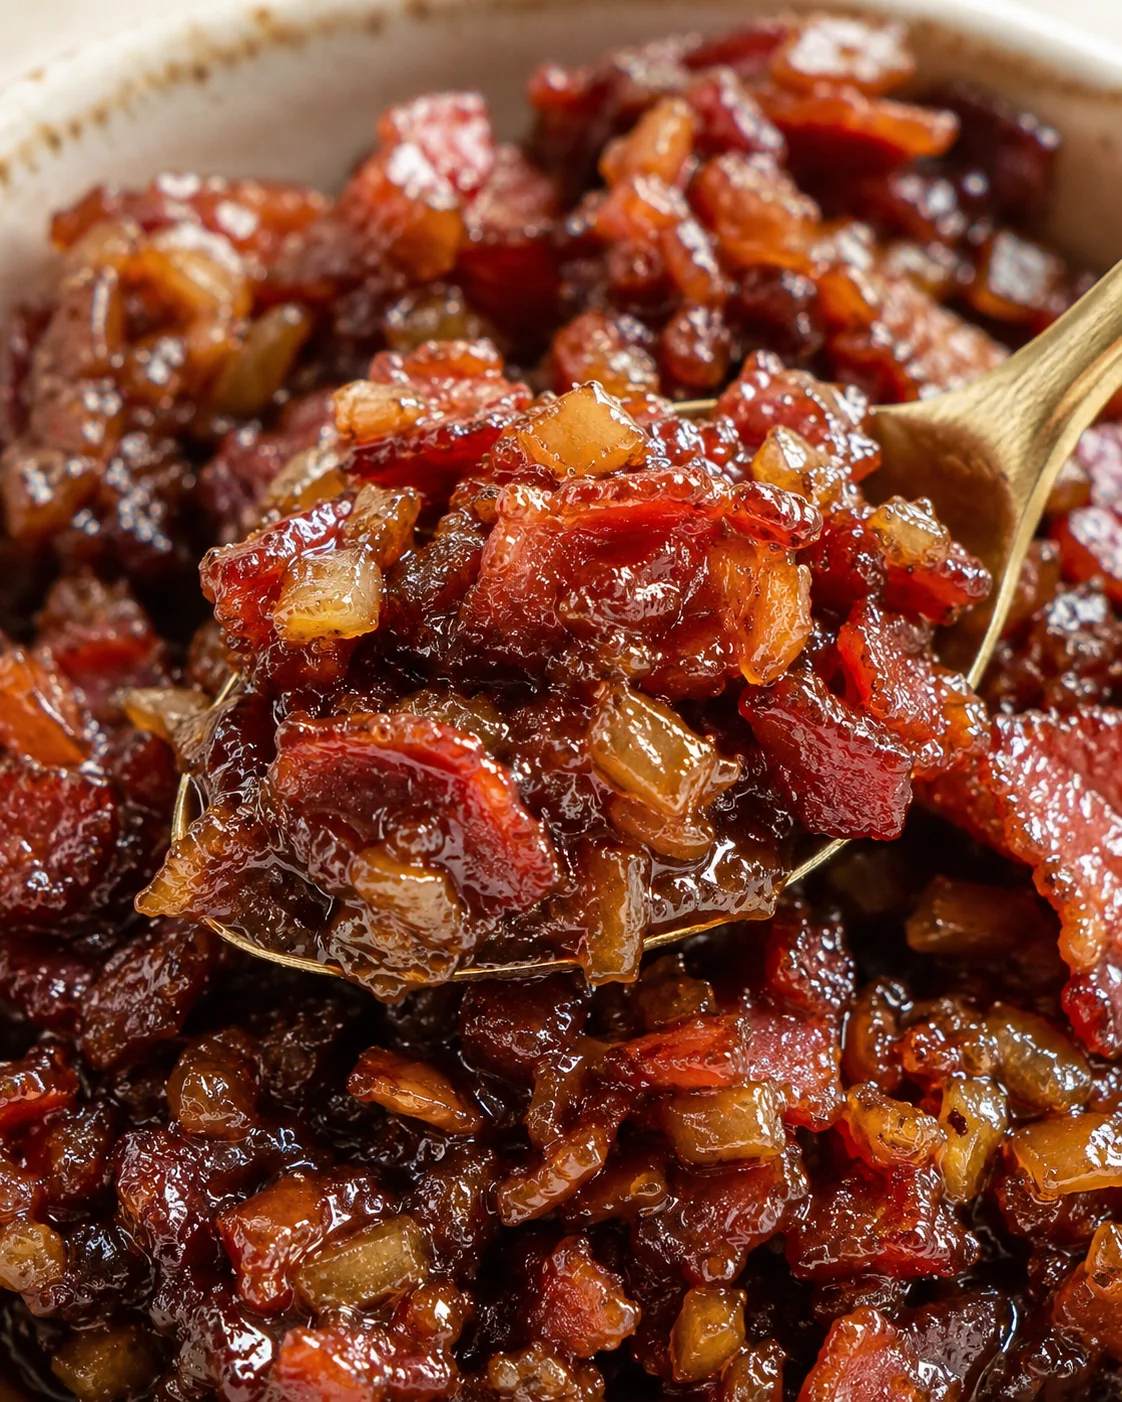
This bacon jam nails the sweet, salty, and tangy balance in a way that feels indulgent yet versatile. It cooks up fast on the stovetop, is naturally gluten- and dairy-free, and stores well in the fridge so you can add a punch of flavor to burgers, grilled cheese, toast, charcuterie boards, roasted veggies, and more. The texture is just right—not too smooth, not too chunky—spreading like a dream but still giving you satisfying bits of crispy bacon in every bite.
Ingredients and Substitutions
- 1 pound thick-cut bacon, diced into ¼ inch pieces
- 2 cups diced onion (about 1 large onion)
- 3 cloves garlic, minced
- ½ cup brown sugar
- ¼ cup maple syrup
- ⅓ cup apple cider vinegar
- 1 teaspoon salt
Step-by-Step Method
- Dice 1 pound thick-cut bacon into ¼-inch pieces.
- Dice onions (about 2 cups) and mince 3 garlic cloves.
- Heat a large skillet over medium-high heat.
- Add the diced bacon and cook, stirring occasionally, until crispy, about 15–20 minutes.
- Use a slotted spoon to transfer bacon to a paper towel–lined plate to drain; reserve 1 tablespoon bacon drippings and pour remaining grease into a disposable container to cool and discard.
- Return the reserved 1 tablespoon of bacon drippings to the skillet.
- Add the diced onions and cook, stirring often, over low–medium heat until caramelized and golden, about 10–15 minutes.
- Stir in the minced garlic, ½ cup brown sugar, ¼ cup maple syrup, ⅓ cup apple cider vinegar, and 1 teaspoon salt.
- Return the cooked bacon to the skillet and stir to combine.
-
Reduce heat to medium and cook, stirring occasionally, until the sugar dissolves and the mixture thickens to a jammy consistency, about 15 minutes.
- Remove the skillet from heat and let the bacon jam cool.
- Spoon the cooled bacon jam into a jar and refrigerate.
Tips for Perfect Texture
- Always pick thick-cut bacon—it cooks down nicely and gives you those meaty, crispy bites that make the jam so satisfying.
- Save a tablespoon of bacon drippings to cook your onions in; it adds that extra smoky goodness. Toss the rest of the grease once the bacon’s out.
- Slowly caramelize the onions until golden brown to deepen the flavor. Keep an eye on them and stir often so they don’t burn.
- If your jam feels too thin, simmer it a bit longer to thicken. If it’s getting too thick, loosen up the texture with a splash of apple cider vinegar or a little water.
- Want it smoother? Pulse the mixture a few times in a food processor, but don’t go too far—keep some bacon texture.
- Feeling adventurous? Add a minced jalapeño with the onions for heat, or swap the vinegar for bourbon for a boozy flair.
- Always taste and tweak salt at the end because bacon can vary in saltiness and the flavors intensify as it cooks down.
Serving Ideas and Variations
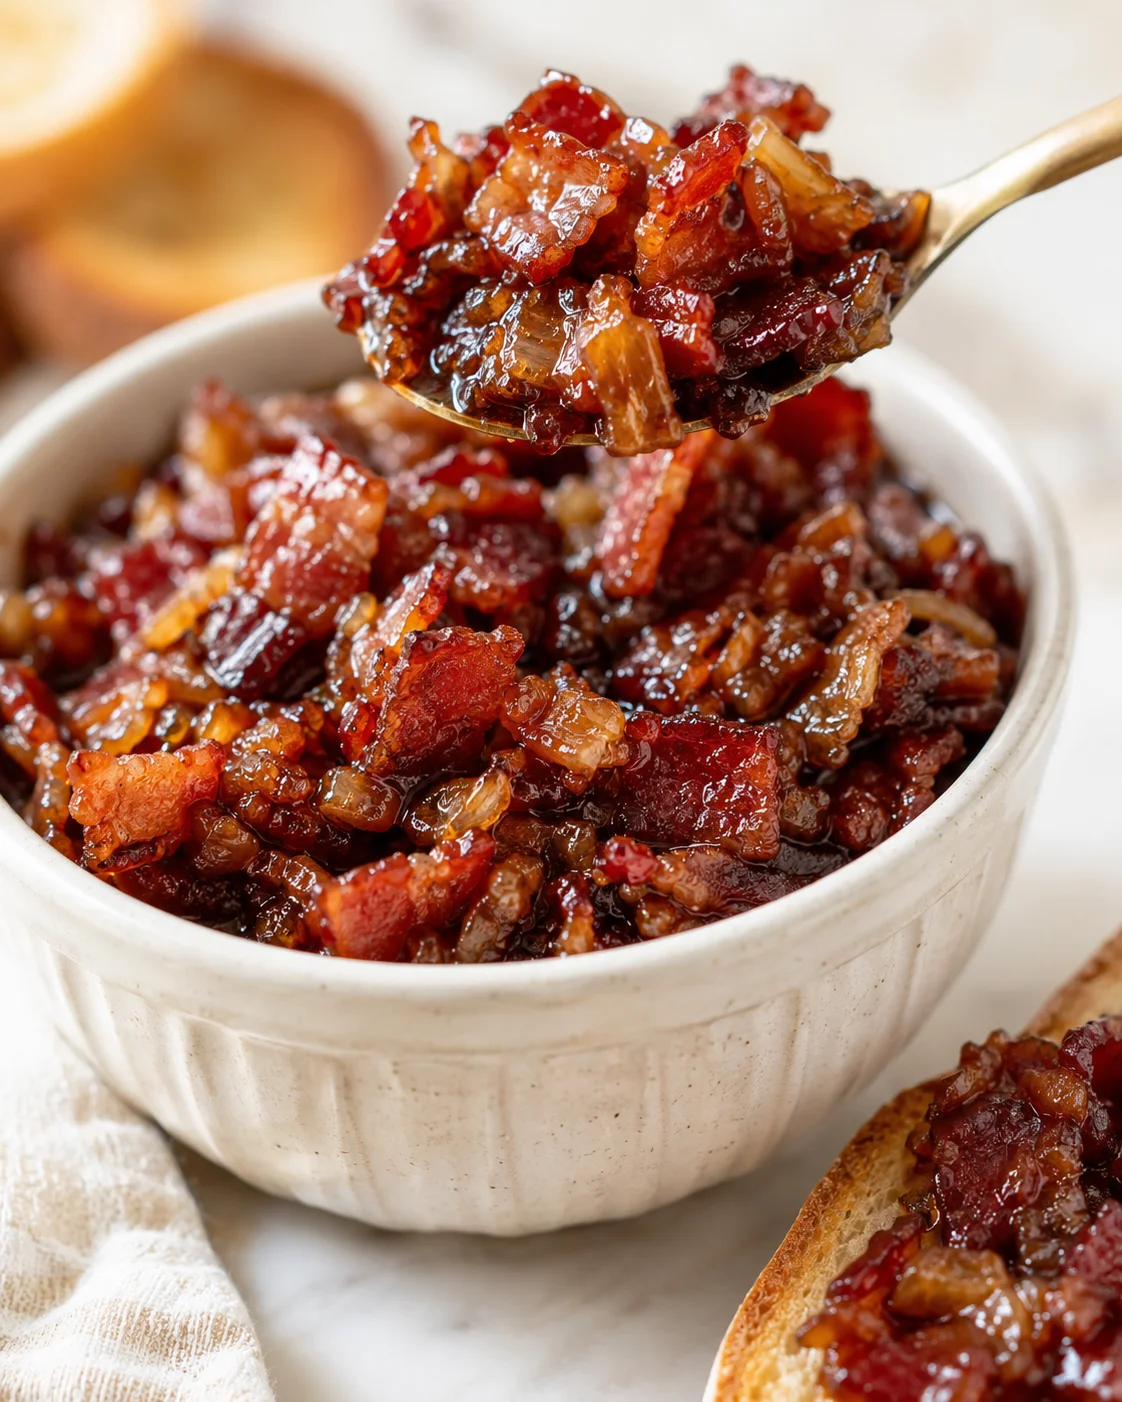
I could happily eat this bacon jam straight from the jar. But if you want to get creative, here are some easy ways to enjoy this sweet and savory spread in meals, snacks, and appetizers!
- Slather it on burgers. Bacon jam is a total burger upgrade. Planning a burger bar for guests? This spread absolutely needs a spot!
- Layer it in a grilled cheese sandwich. Imagine melty cheese and buttery bread with a burst of bacon jam magic. Cheddar, mozzarella, brie, gruyere, gouda, or muenster are all fantastic partners.
- Add to a cheese and charcuterie board. Serve a bowl of this jam alongside cheeses, crackers, fruit, and cured meats. Warning: Your guests may fight over the last spoonful!
- Toss with roasted Brussels sprouts. This bacon jam makes Brussels sprouts into an unforgettable side dish.
- Spread onto toast for a simple breakfast. Add a layer of cream cheese under the bacon jam or top with a fried egg and sprinkle with everything bagel seasoning for a flavor bomb breakfast.
- Build a breakfast sandwich. Toast your favorite bagel, layer on bacon jam, scrambled or fried eggs, cheddar cheese, sliced avocado, and tomato for a hearty morning treat.
- Use it instead of cranberry sauce on puff pastry brie bites. This switch-up is perfect for an impressive appetizer.
Storage, Freezing, and Reheating
Keep your bacon jam fresh in an airtight jar or container in the fridge for up to 7 days. Reheating is simple—microwave it for 60 to 90 seconds or warm it gently in a skillet on medium heat for 4 to 5 minutes, stirring now and then.
You can also freeze bacon jam for longer storage. Just spoon it into a freezer-safe container, leave some room at the top, and freeze for up to 3 months. Thaw overnight in the fridge and stir well before reheating. Sometimes the texture separates a bit after freezing but comes right back together once warmed. Please don’t try water-bath canning this jam because the high fat content makes it unsafe to store at room temperature.
Frequently Asked Questions
- Can I use a different type of bacon? Yes! Thick-cut bacon is my favorite for texture, but regular or center-cut bacon will work too. Just adjust cooking times until your pieces are crispy and nicely rendered.
- Is bacon jam gluten-free and dairy-free? Absolutely! This recipe uses simple ingredients and is naturally gluten- and dairy-free. Just double-check any added products like maple syrup to be sure.
- How can I make the jam less sweet or more tangy? Try reducing the brown sugar and maple syrup a bit and add more apple cider vinegar, a tablespoon at a time, until you hit the flavor you love.
- Can I make this bacon jam ahead of time? For sure! It keeps up to a week in the fridge or can be frozen for up to 3 months—see our storage tips above.
- How do I get a smoother, more jam-like consistency? Simmer the jam a little longer to reduce extra liquid or pulse it gently in a food processor. Just stop before it’s completely smooth so the bacon bits stay.
- Is it safe to can bacon jam for pantry storage? No, unfortunately. Because of the fat and low acidity, traditional canning methods aren’t safe for shelf storage. Stick to refrigeration or freezing to keep it fresh.
More in Recipes
Snickerdoodle Pumpkin Bread
Pumpkin Chocolate Chip Bread
Pumpkin Bread Recipe (So Easy!)